There are two ways you can install Wikilogy WordPress theme. You can choose to install it via WordPress admin panel, which is what will be outlined in this article, or alternatively, you can install it via FTP. Before installing Wikilogy, you need to download the installation files of Wikilogy from the ThemeForest.
Before starting the installation, please check the requirements for Wikilogy article to avoid potential problems.
Downloading the Installation Files from ThemeForest #
The first thing to do is to download the installation files from ThemeForest. You can learn how to download files from this article.
Installating Wikilogy #
Step 1 – Login to your WordPress admin panel.
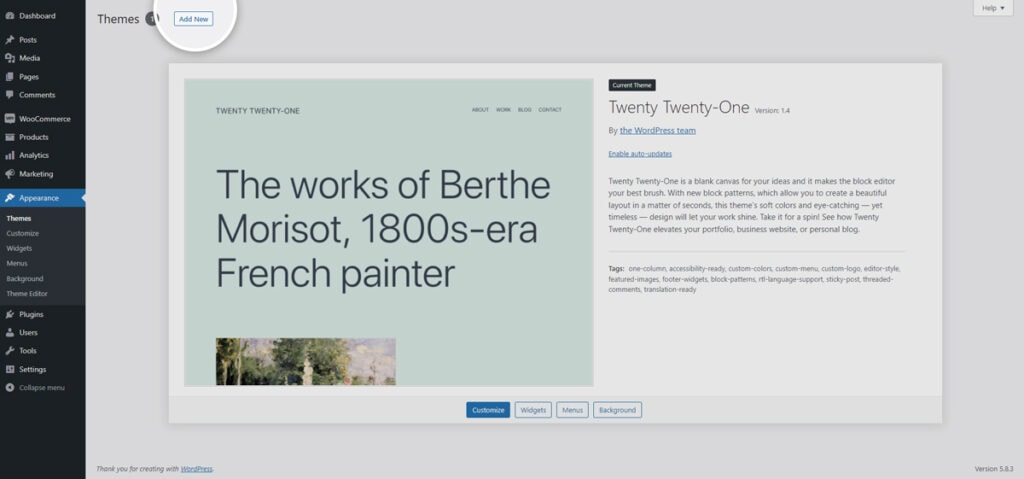
Step 2 – Navigate to the Appearance > Themes from the WordPress admin panel.
Step 3 – Click on the ‘Add New’ button at the top of page.
Step 4 – Click on the ‘Upload Theme’ button at the top of page.
Step 5 – Click on the ‘Choose File’ button.
Step 6 – Find the theme files you have just downloaded from ThemeForest. If you have downloaded ‘Installable WordPress File Only’, then you do not need to unzip the file. Just choose this .ZIP file.
If you have downloaded ‘All Files & Documentation’, you have to unzip this file. Therein you will see a Main Theme folder. Open this folder and choose wikilogy.zip file.

Step 7 – Click on the ‘Install Now’ button and wait for the theme installation to complete.
Step 8 – Finally, click on the ‘Active’ button.
Importing Demo Content #
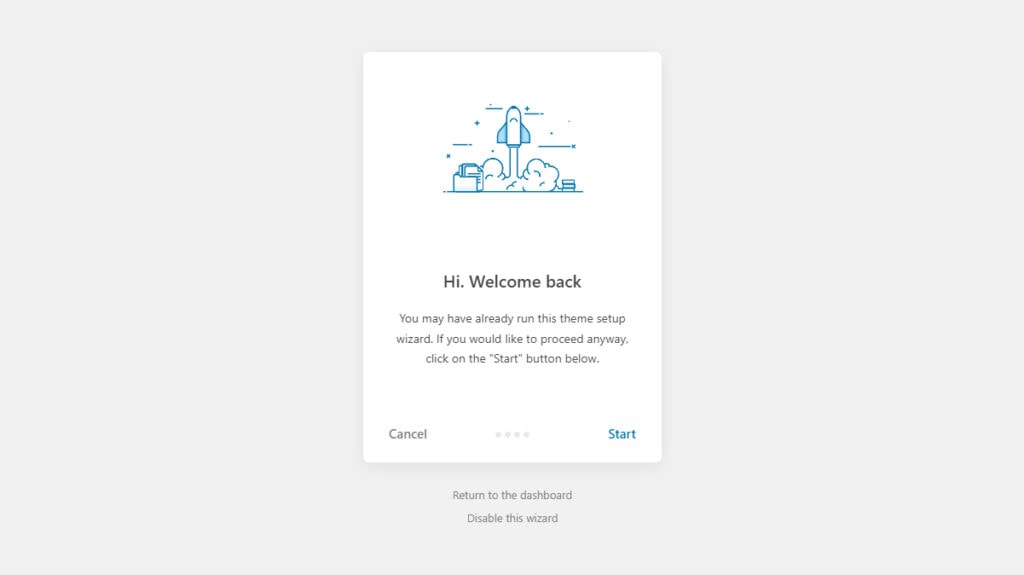
Step 1 – After activating the theme, you will be redirected to the welcome screen (therein you can get the demo content, bundled plugins, etc.). If you are not redirected, navigate to the Appearance > Theme Setup page from the WordPress admin panel.
Step 2 – Click on the ‘Start’ button to start.
Step 3 – If you need a child theme, you can install the child theme in this step. Click the install button. If you don’t need a child theme, you can skip this step.
We recommend using a child theme. Child themes are great for making changes or editing your main theme without the risk of unpleasant surprises. Learn about child themes.
Step 4 – In this step, you can install the required and recommended plugins for the theme. You can specify the plugins you don’t want to be installed. Click the install button.
We recommend installing the required plugins. If you do not install the required plugins, you may not have some features.
Step 5 – After the plugins are installed, the demo content import panel will open. You can import pages, posts, widgets, customizer settings and other demo contents from this panel. You can exclude contents that you don’t want imported. Click on the import button.
Step 6 – After all processes are completed, you can return to the dashboard or view your web site.


